Ikea Hemnes 3 Drawer Chest Bottom Sagging


Let's talk Ikea!! .. Marmite springs to my mind .. You know, the whole "Some love it .. some hate it" kinda thing. I love it. Ikea that is .. I'm NOT a fan of Marmite .. I don't care what you mix it with!
Anyway, I digress .. even if you're not an "I'm bowled over" lover of IKEA, when it comes to budget decorating they can certainly make a big difference in your pocket! Like this chest of drawers in our daughter's bedroom. We've had it for many years but was starting to show some definite signs of wear and tear. And OK, although this makeover may not be earth shattering .. it will give us some extra mileage and save us a bit of ker-ching 🙂
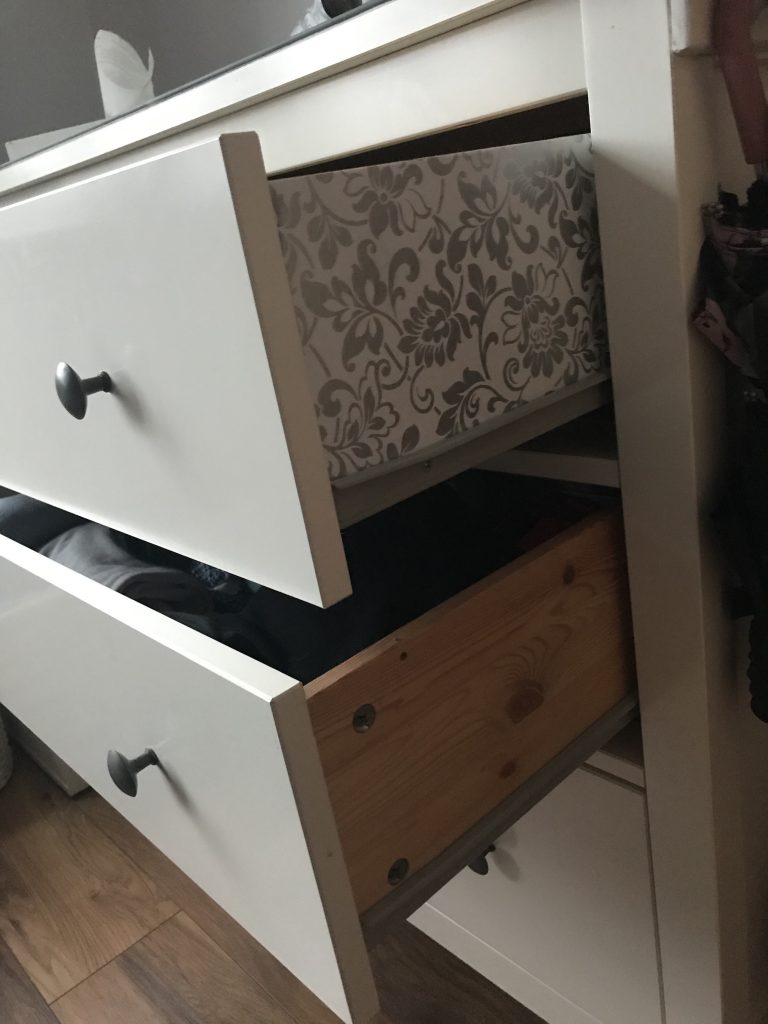
saggy bottom alert!
So here's the dresser before, including a saggy bottom!
This is definitely a flaw in their design in my opinion (sorry IKEA .. just putting it out there …) Fortunately the more recent Hemnes drawers are MUCH better than the old design. However, the saggy bottom is easily fixed with some of these straps from Amazon.
With some basic materials and DIY skills you attach the straps to the bottom which keeps them in place perfectly. No more saggy bottom!


Adding some glitter to our ikea chest of drawers
Let's face it, although the saggy bottoms have been fixed, the actual chest of drawers is still looking very generic and, well quite frankly, a bit tired and warn. Many years of our daughter using it as her make-up dresser have left it with quite a few marks that the best cleaning agent in the world are not going to get out.


I figured covering it with some paper and protecting it with a glass top would be the way forward to make it last a few more years. And as it happens we had some glitter wallpaper left over our recent hallway make-over which would cover these imperfections perfectly! And what girl doesn't want a bit of glitter added to her room?
I ordered the glass top from IKEA .. and it arrived .. too small. My bad! Who knew that IKEA had slightly changed their sizes of their Hemnes range since we bought this item?? Clearly not me ..

Fortunately my husband came to the rescue and cut off a small amount of the sides and the back of the top to make it a perfect fit. The side is going to be in the corner so you're not going to see it. Besides, I'll find a way to prettify it!
Next, I cut some of the off cut of the wallpaper to size and placed it on top.
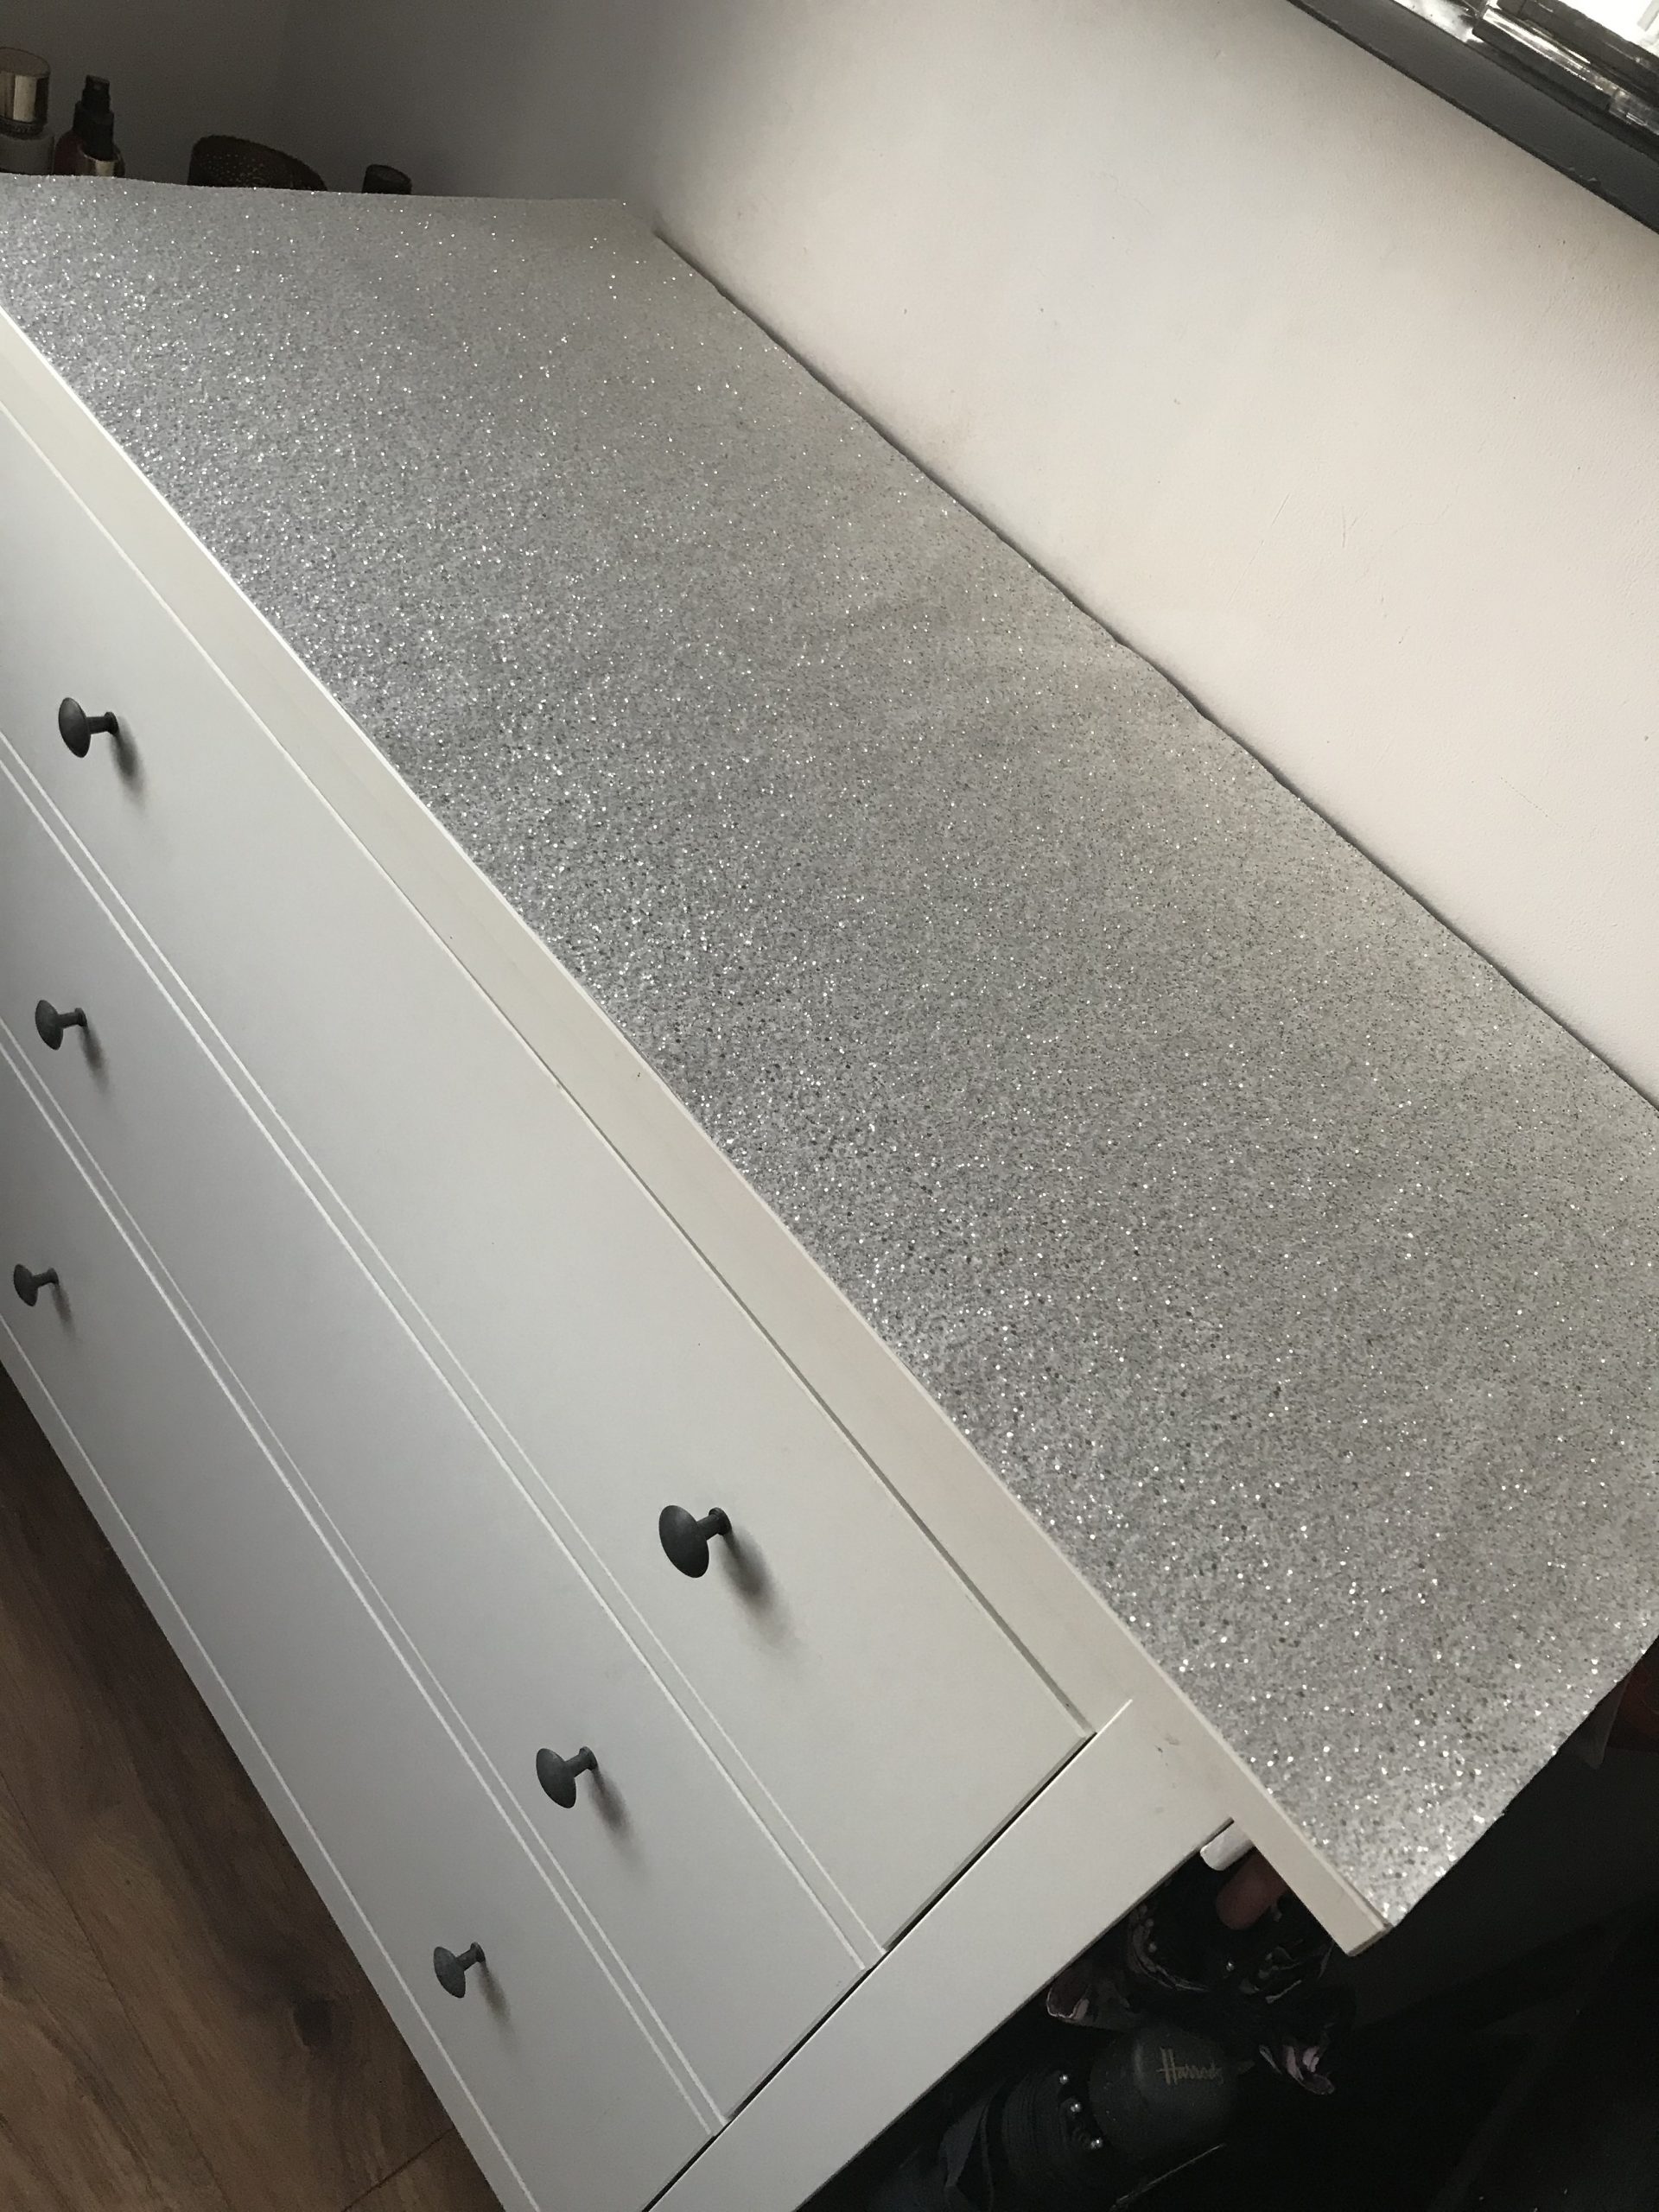
The glass top was fitted over the top afterwards without having to stick the paper down .. bonus! You can see how it turned out at the bottom of this post.
it's all in the detail
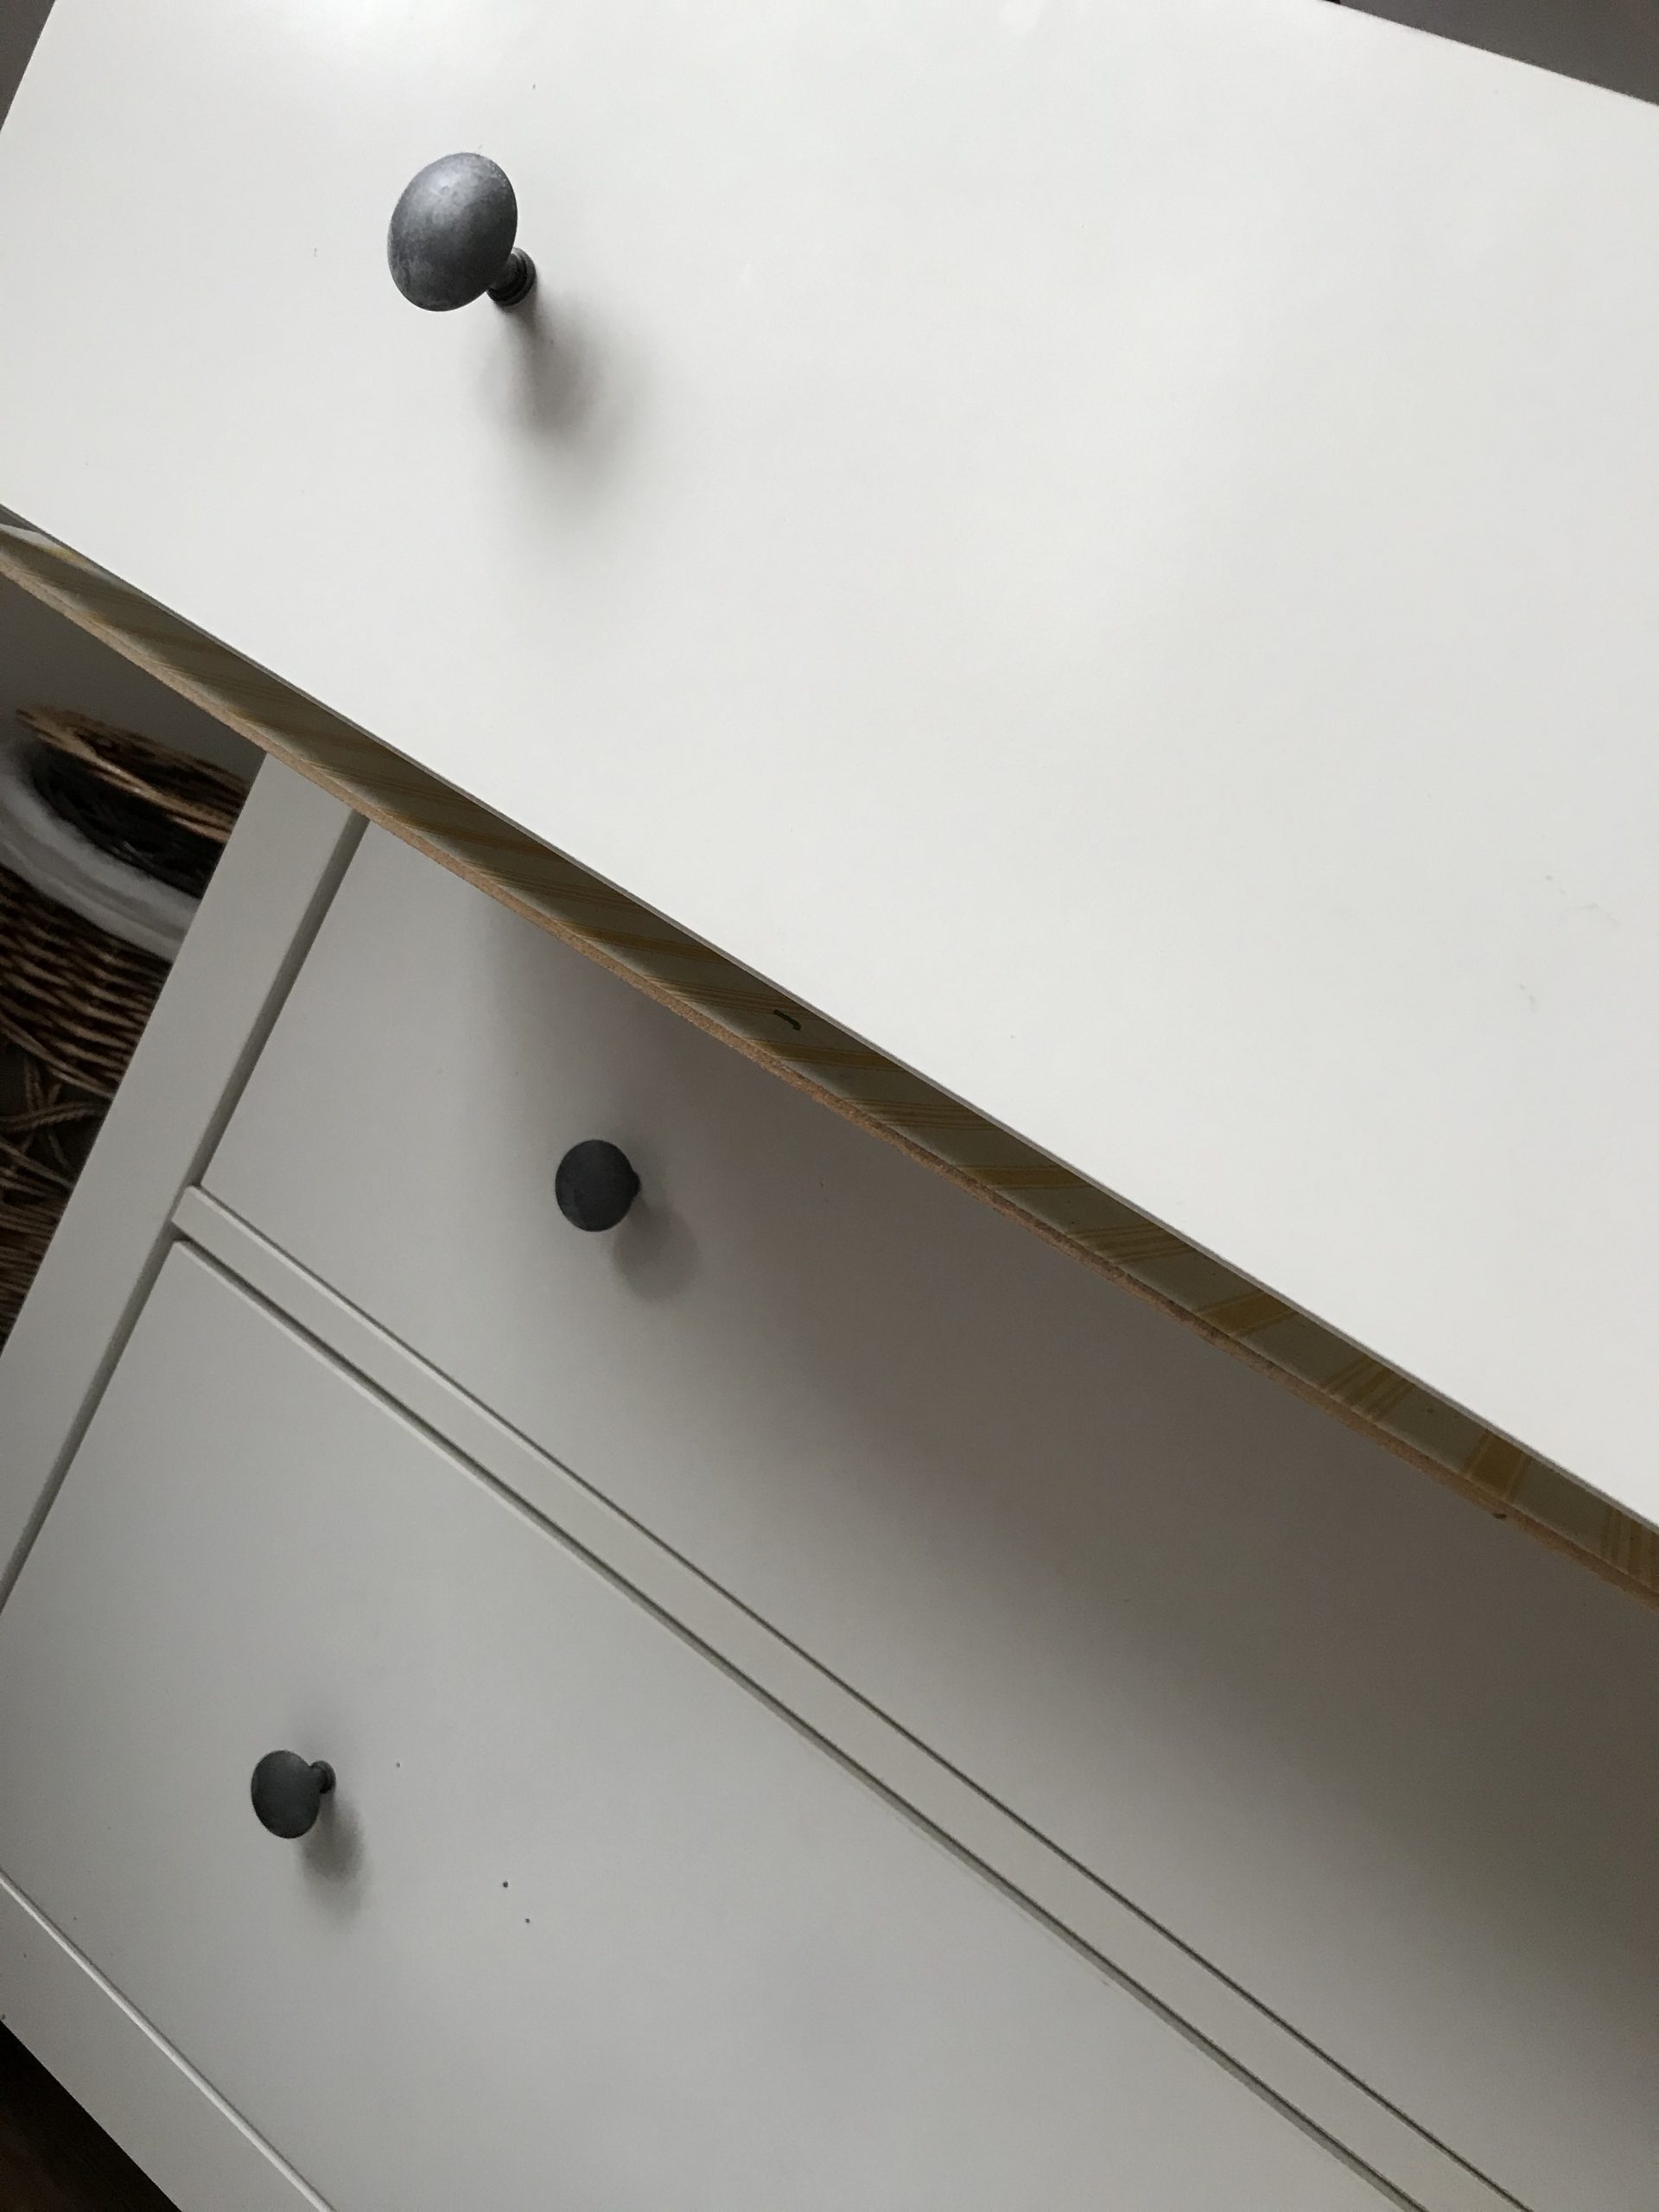
I like surprises! (well, nice ones anyway..) And I like surprises in our decor too. You know, seeing something nice when you least expect it. So I decided to add a little bit of a fun, surprise element to this chest of drawers. I bought some Fablon Sticky Back Plastic in silver/white to match the wallpaper.
I popped the drawers out and took off the runners. There was very minimal cutting of this sticky plastic involved as it was the exact width of the drawers. All that was needed was to cut the length to size (pic 1)
Make sure the surface you're sticking it to is nice and clean. Carefully peel the backing away and stick to the sides (pic 2). Gently slide from one side to the other to stick it in place. Rub over it with a soft cloth to get rid of any bubbles.
Snip off the smallest strip at the end to allow for the runners to glide smoothly (pic 3).


Pop the runner back on and that's the first side done! What a difference, right? Repeat this process for all sides of the three drawers.
Replacing the handles
Finally, I replaced the generic standard IKEA handles with some sparkly ones I bought in The Range. These were £4.99 for a pack of 4 so I still have 2 left over which no doubt I'll be using for another make-over some time soon!

All in all this project cost me just under £38 (including the glass top!) BUT I have 2 handles left over as well as a load of the Fablon sticky back plastic for another project too. Which still works out significantly cheaper than replacing the chest of drawers (which would not have looked as cute!)
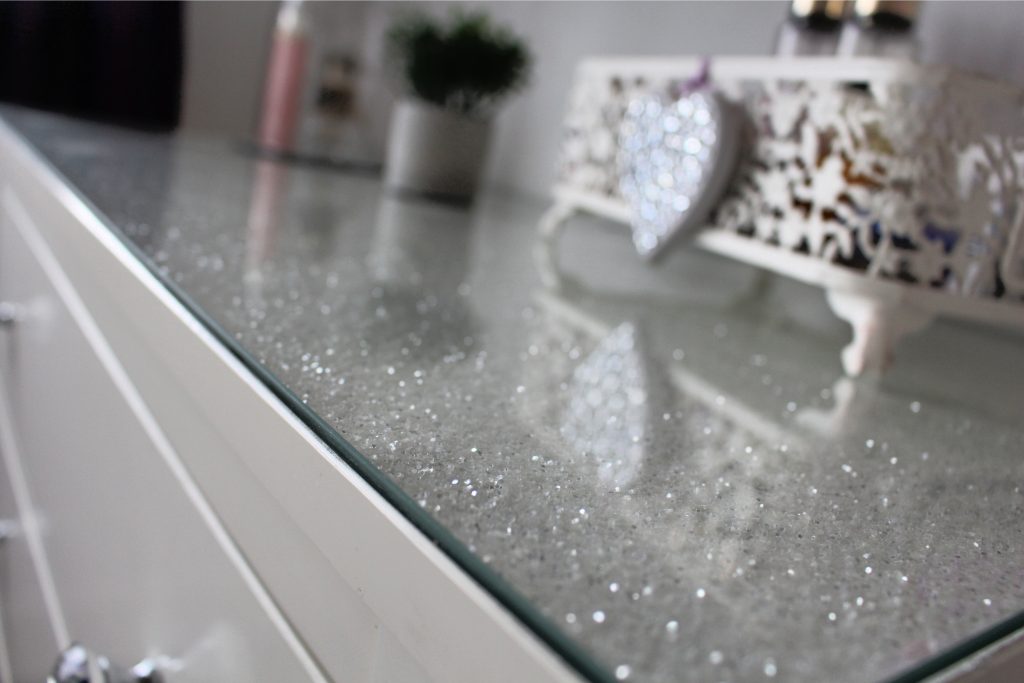
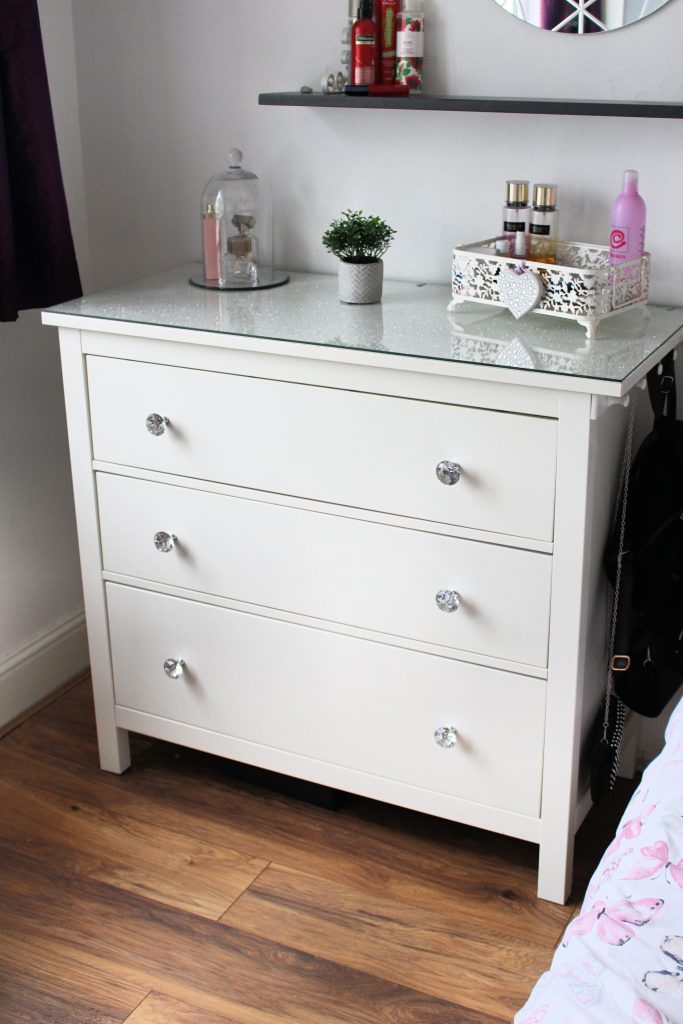
Gotta LOVE a bit of sparkle!!

This glass cloche was a Facebook Market Place find for £5. I found the perfect little mirror to fit under it just to finish it off. It's a great way of displaying some perfume bottles (note to self .. invest in some NEW perfumes!!)

One last look at the before and after, just as a comparison.

Would you Pin me for later?

Some of the links in this post may be affiliate links, which means I earn a small commission if you decide to use my link to purchase something (at no extra cost to you!). This will allow me to continue to share great ideas and projects with you guys, so I would be grateful if you did!
Want to see where we used the glitter wallpaper??

Follow me on Social Media!
Ikea Hemnes 3 Drawer Chest Bottom Sagging
Source: https://onceaduckling.com/2021/05/05/extending-the-mileage-on-our-hemnes-ikea-dresser/
0 Response to "Ikea Hemnes 3 Drawer Chest Bottom Sagging"
Post a Comment